
 3171
3171 


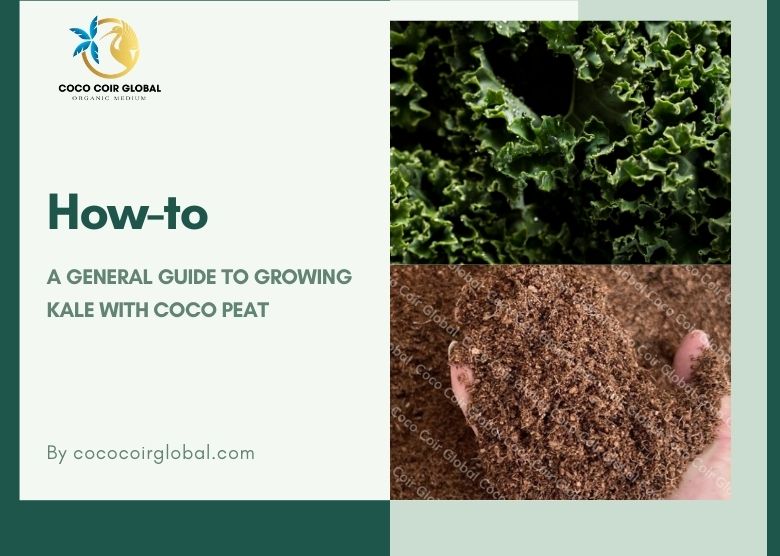
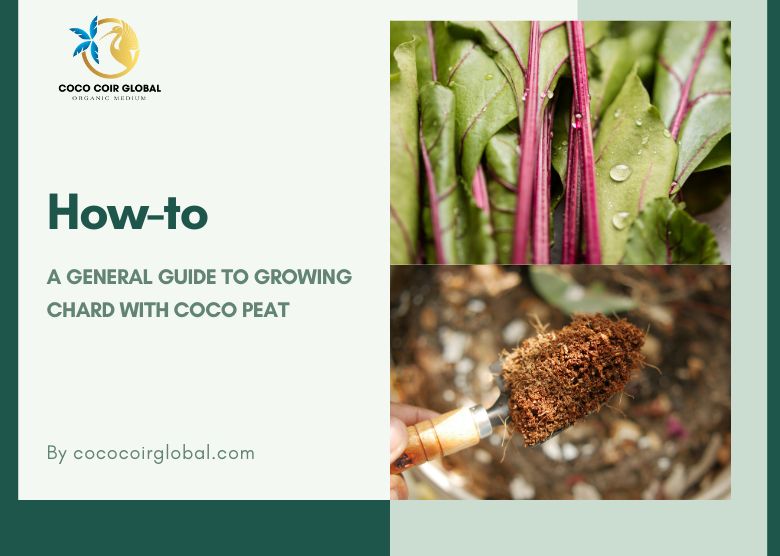
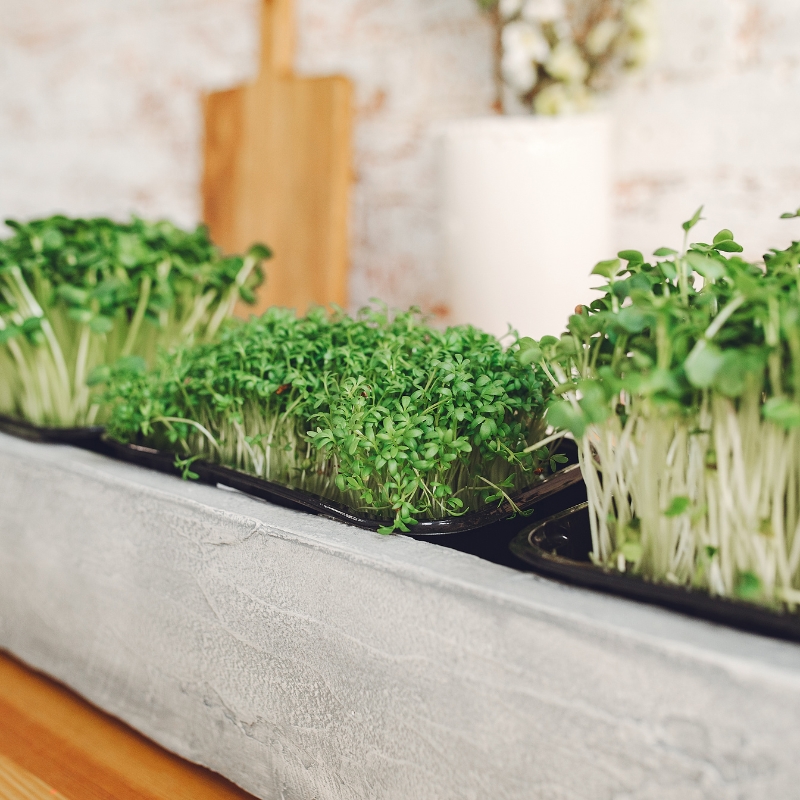
What are Microgreens?
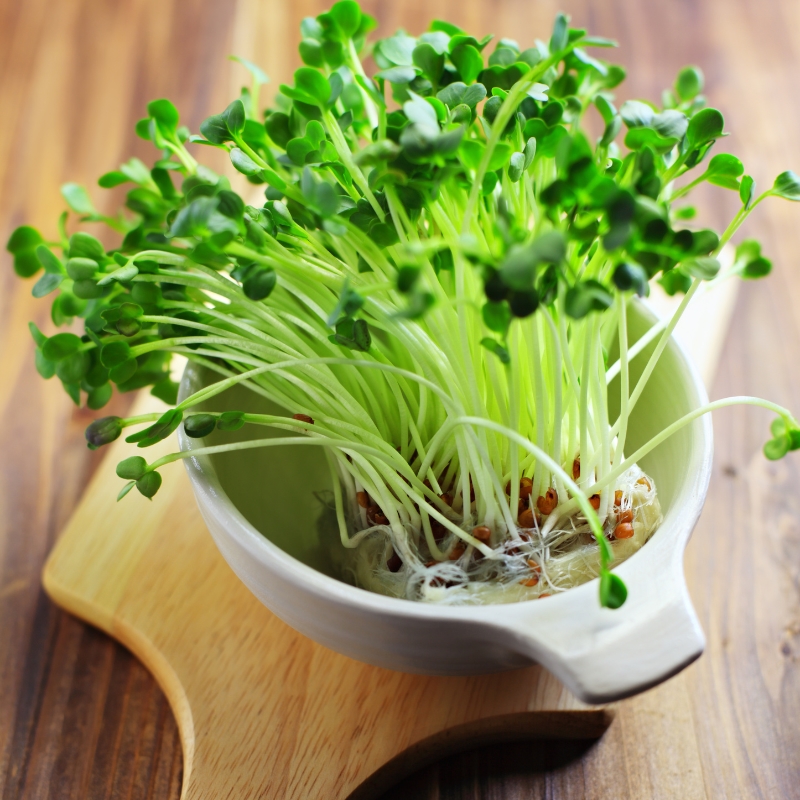
Microgreens refer to sprouts that are harvested after germination, but before they have fully matured. That means when they have their first leaves, they will be harvested (usually after 1-3 weeks). Despite having a small size of approximately 1-3 inches, microgreens are rich in vitamins, minerals, and antioxidants, and are low in calories.
Microgreens are typically grown in soil, hydroponic systems, or even in small cultivation spaces. Growers do not need to fertilize or use any chemical for microgreens because they are harvested early, the plants do not need to produce flowers or fruits. All of the nutrients are absorbed naturally through the process of photosynthesis.
With their non-toxic nature, rich sources of good nutrients for the body, ease of cultivation, and quick harvest time, they are becoming increasingly popular in the culinary and health communities.
Product Coco Coir


✓ Economical and versatile for different uses
✓ Suitable for both commercial and individual growers


Different types of growing mediums for microgreens
Growing medium, or also known as substrate, is a type of material used to support the growth of plants in agriculture, horticulture or hydroponic systems. The choice of growing medium depends on several factors such as plant species, growing system and desired outcomes of the grower.

There are various suitable growing media for growing microgreens, but each type has its own characteristics. For example:
- Soil: General garden soil or potting soil can be used to grow microgreens. However, the soil environment may contain harmful pests or fungi that can affect the plant’s roots.
- Vermiculite: Vermiculite has good water retention properties and is also spongy, allowing for air circulation around the roots. However, vermiculite has a loose structure that can cause seeds to move around easily when watered.
- Peat moss: Peat moss has excellent water retention properties and is rich in nutrients. However, its use should be limited to protect the environment because peat moss takes a long time to regenerate (hundreds of years).
- Hydroponic substrate mats: Hydroponic substrate mats are often made of hemp. They are placed in a tray and soaked in water to provide moisture for the seeds. However, they are prone to tearing and difficult to regenerate.
- Rockwool: Rockwool has excellent water retention properties, is sterile, and has a neutral pH level. Its limitation is that it produces dust and is not environmentally friendly (not biodegradable).
- Coco coir: Coco coir is a natural and sustainable growing medium made from coconut husks. It has good water and nutrient retention properties, a neutral pH level, and is excellent for growing microgreens. Its structure is similar to that of a sponge (spongy and breathable), which creates favorable conditions for maximum root development. This is the best growing medium for microgreens, both in large and small planting areas. It also has natural sterility, ensuring that your greens are not susceptible to disease and grow healthy.

Each type of growing medium has its own advantages and disadvantages. Growers need to carefully consider when choosing the suitable growing medium for each type of microgreen, based on factors such as water retention, aeration, nutrient content, and other factors.
Coco coir for microgreens
What is Coconut Coir and Why is it a Great Choice for Microgreens?
In simple terms, coco coir is naturally clean and sterile, providing the advantages of pre-sterilized soil without any special treatment. It’s both capable of retaining water and allowing for air circulation, which creates an ideal environment for successful germination. While coco coir might cause some mess, it still results in less leftover debris compared to traditional soil.
Types of coconut coir products
Buffered: This type of coco coir has been processed to remove salt and adjust the pH level to suit plants. This is the most suitable environment for agriculture.
Washed: This type of coco coir has been carefully washed to reduce salt and remove impurities. The fibers are now loosened, lighter, and easier to use.
Unbuffered: This type of coco coir has not been processed and is not recommended for use because raw coco coir has a high salt content, and low pH, and may contain some harmful substances for plants.
Unwashed: Similar to unbuffered coco coir, this type has not been processed and is thoroughly rinsed. Therefore, it will contain a large number of natural salts such as potassium, magnesium, and sodium, which when in excess can be harmful to plants.

Advantages of using coconut coir for microgreens
Coco coir has several advantages that are suitable for microgreens, such as:
- Water and nutrient retention: Coco coir has good water and nutrient retention properties, helping to create the appropriate moisture level, keeping the necessary nutrients, and promoting the healthy growth of microgreens.
- Aeration: Coco coir is a spongy material that allows for good air circulation, preventing the substrate from becoming too moist and reducing the risk of fungal growth. Furthermore, this feature helps roots develop to the maximum, providing favorable conditions for microgreens to absorb nutrients.
- Neutral pH level: Coco coir has a neutral pH level, not too alkaline or too acidic, making it easy to adjust to suit different types of microgreens.
- Sterility: Coco coir is generally sterile and does not contain harmful disease spores, making it a safe and healthy choice for growing microgreens.
- Sustainability: Coco coir is a sustainable and renewable resource compared to other growing media like peat moss. Its use as a growing medium for microgreens is an environmentally friendly option that helps reduce the impact on the environment.
Overall, using coco coir as a growing medium for microgreens can be an effective and practical choice, bringing some benefits to growers who are seeking to produce healthy and nutrient-rich microgreens.
How to grow microgreens with coconut coir?
Methods of using coconut coir for microgreens
Coco Coir as a Stand-alone Growing Substrate: Coconut coir can satisfy all the requirements of microgreens such as good water and nutrient retention, good aeration and root growth conditions. Growers can mix the components of coco coir together to create a suitable coco coir mixture for each type of microgreens.
Mats: Coco coir mats maintain good moisture levels, and their structure makes it easy for roots to grow and develop to the maximum, promoting healthy microgreen growth. The key to success is to ensure that the mat is not flooded, while providing a warm and well-lit environment for the seeds to germinate.
Mixed with soil: Coco coir can be mixed with soil or other growing media to improve water retention and aeration. Add some coco coir to the growing medium and mix well before sowing. This method can help prevent the soil from becoming too tightly compacted.

Step by step guide on growing microgreens with coconut coir
Step by step instructions on how to grow microgreens with coco coir:
What you need:
- Coco coir and other substrates used for mixing (if any).
- Shallow container, planter, pot or sprouting tray (with drainage holes)
- Sprouts seeds
- Clear plastic lid or plastic wrap
Guide to growing microgreens with coco coir:
- Fill a planter or tray with coco coir, spreading it evenly. If using coconut coir mats, simply place them in the tray.
- Sprinkle microgreen seeds evenly over the coco coir. For best results, sprinkle seeds thickly.
- Cover the seeds with a thin layer of coco coir to nearly cover the seeds.
- Mist the seeds gently with a spray bottle or misting wand, being careful not to overwater. Use a misting spray or plant sprayer to prevent the seeds from being displaced.
- Cover the planter or tray with a clear plastic lid or food wrap to create a mini greenhouse environment.
- Place the planter or tray in a warm and well-lit area, avoiding direct sunlight as it can dry out the coconut coir and cause the greens to wilt.
- Check the coco coir’s moisture levels daily and mist as needed. Be careful not to overwater, as this can lead to the development of mold.
- Once the microgreens have reached the desired height (typically 1-2 inches), remove the plastic cover and move the planter or tray to a location with plenty of light.
- Harvest the microgreens by cutting them just above the surface of the coco coir with clean scissors.

With these simple steps, you can grow healthy and nutritious microgreens using coco coir as a growing substrate.
Selecting the best coconut coir for microgreens
When choosing coco coir for microgreens, there are several factors to consider to ensure that you are selecting a high-quality product, including:
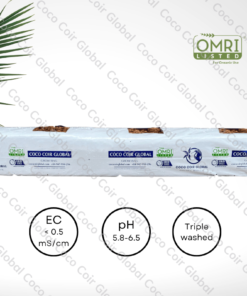
- Quality of the coco coir: Look for coco coir made from organic coconut husks, processed with an extremely low EC level, as this is critical for sensitive crops like microgreens. Avoid coco coir made from low-quality or unprocessed materials.
- Coco coir pH level: Coco coir can have a high pH level that can negatively affect the growth of microgreens. Check the pH level of the coco coir before purchasing and adjust if necessary. A pH level between 5.5-6.5 is recommended for growing microgreens.
- Coco coir structure: The structure of coconut coir can affect its ability to drain and retain water, so ensure that the coco coir you select has a fine and uniform structure for the best results.
- Coco coir source: The source of the coco coir can also affect its quality. Look for coco coir from reputable and sustainable manufacturers.
Can You Reuse Coconut Coir for Microgreens?
Coco coir microgreens can be reused. In fact, reusing coco coir can help reduce waste and save money. Here are some tips on how to reuse coco coir microgreens:
- Clean the coco coir: After harvesting the microgreens, remove any remaining roots or debris from the coco coir. Rinse thoroughly and let dry completely before reusing.
- Store the coco coir microgreens: If you are not planning to use the coco coir right away, store it in a sealed container or bag in a dry and cool place.
- Supplement nutrients: Over time, coco coir microgreens can lose nutrients. To supplement them, you can add a small amount of organic fertilizer or compost to the coco coir before reusing it.
- Check the pH level: The pH level of coco coir can change after harvesting. Before reusing it, check the pH level and adjust if necessary to ensure optimal growing conditions for your microgreens.
- Continue using: Once thoroughly cleaned and prepared, coco coir can be reused for growing microgreens. Ensure to sow the seeds evenly and mist regularly to maintain moisture.
- By following these steps, you can reuse your coconut coir for multiple microgreen crops. However, it is important to note that the coco coir will eventually break down and lose its ability to effectively hold water and nutrients. When this happens, it’s time to replace it with a new coco coir.

Best microgreens to grow in coconut coir
Coco coir can be an excellent growing substrate for many different types of microgreens. Here are some of the best microgreens to grow in coconut coir:
- Radish microgreens: Radish microgreens grow quickly and have a crunchy, slightly spicy flavor. They are easy to grow in coconut coir and can be harvested in just 7-10 days.
- Mustard greens: Mustard greens have a fragrant, spicy taste and are high in nutrients. They also grow quickly and can be harvested in 7-12 days.
- Arugula microgreens: Arugula microgreens have a nutty, peppery flavor and are excellent in salads or sandwiches. They can be ready to harvest in just 10-14 days.
- Beet microgreens: Beet microgreens have a sweet, earthy flavor and are rich in vitamins and minerals. They take longer to grow, about 14-21 days, but are worth the wait.
- Sunflower microgreens: Sunflower microgreens have a slightly nutty and crunchy taste. They also contain many nutrients such as vitamin B and E, iron, and zinc. They can be ready to harvest in 10-14 days.
- Green pea microgreens: Green pea microgreens have a sweet, earthy flavor and are high in vitamins and minerals. They are easy to grow in coco coir and can be harvested in just 7-10 days.
- These microgreens are just a few examples of what you can grow in coco coir. You can also experiment with other types of microgreens like broccoli, kale, or wheatgrass and see which ones grow best in your environmental conditions.

Conclusion
In summary, coco coir is the best growing medium for sprouts and brings many benefits to growers.
But not all types of coco coir can be used to grow microgreens, because the nature of growing sprouts does not use fertilizers, so it is easy to be infected with diseases or bacteria. When using coco coir microgreens, it is important for growers to choose a high-quality product that is made from organically treated and organic coconut husks.
See more:
- Coco Coir Hydroponics: The Complete Guide
- Coco Coir Mushroom Substrate: How to Grow Mushrooms on Coco Coir
- Growing Cannabis in Coco Coir: A Complete Guide
- Coco Coir Soil Mix: Benefits and How to Use It for Plant Growth