
 2326
2326 


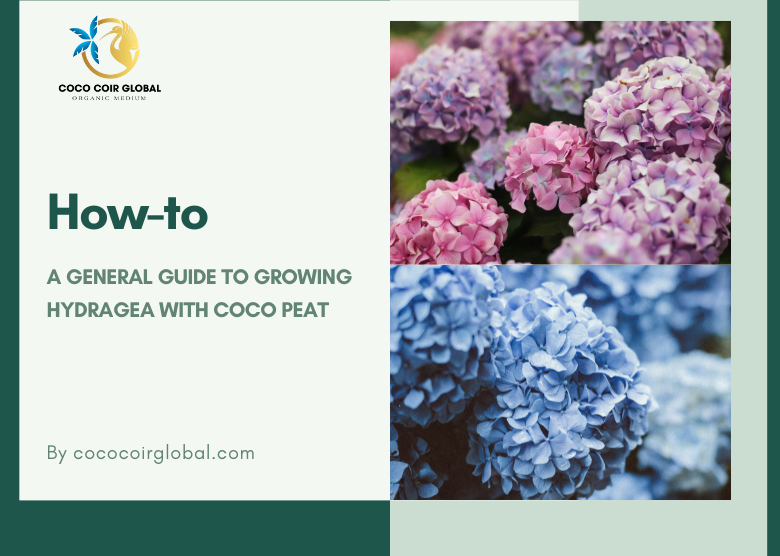
Going deeper on how to grow Hydrangea with Coco peat
About the Hydragea plant:
Hydrangeas thrive in wet, well-drained soil with dappled shade – neither too bright nor too gloomy. Avoid sites that face south, especially if the soil is very dry. Grow the climbing hydrangea Hydrangea anomala subsp. petiolaris in a very shady location, such as a north-facing wall. In the spring, the young growth is susceptible to frost damage, therefore avoid planting in a frost pocket and plant away from high winds.
Hydrangeas flourish in a wide range of soil conditions, including alkaline and acidic soil. However, the pH of the soil will affect the color of some types of flowers, as mentioned. Some plants with pink blossoms will turn blue if the soil is acidic.
Hydrangeas thrive in the spring and autumn, when the soil is warm and moist. Planting in the summer is possible, but you must keep an eye on soil moisture levels.
See more:
- How To: A General Guide To Growing Orchid With Coco Peat
- How To: A General Guide To Growing Rose With Coco Peat
- Coco peat for Water spinach: A General Guide To Growing

Planting Hydragea plants
Hydrangeas thrive in moist soil, so if your soil is light, amend it with moisture-retaining organic matter before planting, such as well-rotted manure or compost. An hour or so before planting, thoroughly water the plant. Plant hydrangeas no deeper than they were in their original pot. Fill the well with water. Mulch after planting with leaf mould if possible; otherwise, use well-rotted manure or compost. Water the plant frequently during its first spring and summer.
Hydrangeas bloom in the spring and summer and can be pruned or grown from cuttings in the winter. The color of your hydrangea indicates the pH of your soil. Pink flowers suggest that the soil is alkaline (pH between 8 and 12). Blue blooms indicate that the soil is more acidic (pH of 1 to 6, with 7 being neutral). The color of white hydrangea flowers may vary as they age.
Where to plant:
Although hydrangeas are rather durable flowers, they might suffer under direct sunlight or in windy situations. They both dry up soon. Hydrangeas like a somewhat shaded location or one that receives only early sun. As a result, the optimal location is one that is partially shadowed or has ‘dappled’ shades. All cultivars should bloom and grow well in morning sun/afternoon shade, but not in full shade. Try the southern (southern hemisphere) or northern (northern hemisphere) side of your garden.
Planting under a tree should be avoided. Tree roots will compete with your hydrangea for the rich, moist soil. If the forest canopy is dense, there may be insufficient light.
If you only have a little amount of space, consider growing them in pots or containers. Choose a pot that is appropriate for the plant’s mature size and demands. Hydrangeas require regular hydration, so avoid porous containers.

Most hydrangeas require at least 1m2 of personal space to feel comfortable and perform well, depending on the cultivar. Check the label to ascertain the mature size of the plant first.
Drainage: You must also consider the drainage requirements of your hydrangea. Hydrangeas prefer moist, compost-rich, well-drained soil, but they despise ‘wet feet’! If raised beds are available, they are preferable over a mounded configuration.
When to plant:
If your potted hydrangea was developed and raised in a garden nursery, it will be accustomed to being outdoors all year, allowing you to plant it whenever you like.
However, if you prefer to plant during the hot summer months, it is best to do so in the early morning or late afternoon when the temperature is at its lowest. This will prevent heat exhaustion. Also, keep in mind that your hydrangea will need to be kept well hydrated during the hotter months of the year in order to establish itself in its new position.
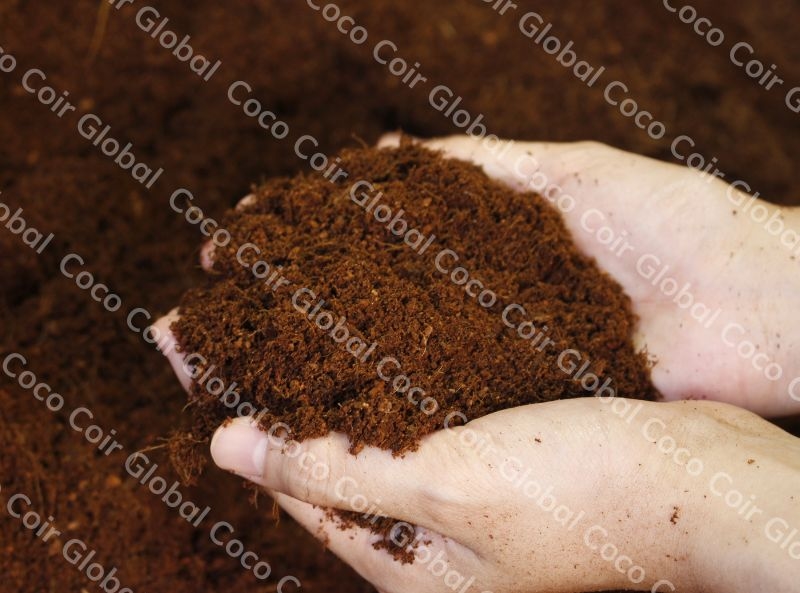
The usage of coco peat:
Depending on the type of coco peat product that you purchased, the preparation process might be lengthened by several steps. Rehydarting coco peat cubes or bricks into suitable peat-like medium are usually the first step if your products are that type, or just generally hydrate coco peat if it’s a ready to use type.
If your coco peat is the non-buffered type, it’s recommended that you should provide it with nutrients. One upside with it is that they are pretty much neutral, and adjusting pH and other nutrients will be much more accurate, thus making the job easier.
Soil Work:
- Pre-soak your potted hydrangea
First, add some liquid seaweed fertilizer to a pail of water. Check the manufacturer’s instructions and prepare a strong solution. Why do we have to do this? Kelp, which is rich in trace elements that improve soil and plant health, is used to make seaweed products. Seaweed also helps to prevent transplant shock. Plant stress is a regular issue when moving house from a pot to a new place.
Seaweeds and kelps are high in nutrients and aid in the development of pest and disease resistance in plants.
Lower the pot slowly into the bucket. Allow the plant to soak until no more air bubbles rise to the surface. This could take a few minutes or more. Prepare the hole or new larger pot while your pot is soaking.
- Preparing your soil or pot
On all sides, dig a hole twice the width of the hydrangea’s root bulb. So, if you have a 200mm pot, dig a 600mm hole to provide the plant 200mm more space all around for the roots to develop into. Only dig a hole that is as deep as the pot.
Similarly, if you are transplanting your hydrangea into a larger container, allow enough room for the roots to grow. You can easily transfer it to a larger pot as it grows.
- Supercharge your Soil
Compost is a favorite of hydrangeas. Why? It is high in nutrients, aids in moisture retention, and increases organic matter in your soil. This, in turn, attracts worms, which use their tunnels to aerate the soil. These beneficial earthworm ‘bulldozers’ provide you a free trail of rich humus. Their worm castings improve soil health and provide an instant food source for the roots of your hydrangea. Worms are fantastic garden helpers! If you have your own homemade compost, utilize it as a first choice. If not, go with certified organic compost, which is probably the next best available option.
Rock dust minerals, magnesium sulphate, mulch, worm castings, chopped banana peel, or slow release plant food are all soil improvers that can add vital minerals and nutrients. These will help your hydrangea grow. Before planting and adding the compost or potting mix, you might add any of them to the hole.

If you live in a dry climate or have water restrictions, your soil may want some assistance in retaining moisture. Mix in some coco peat. Coco peat is available as compacted blocks that can be rehydrated to dramatically improve moisture retention capacity.
Coco peat has the ability to hold up to 70% of its own weigt in moisture. This is a low-cost addition to any garden or container. Simply follow the instructions for how much water to add.
Tip: Always use warm water to speed up hydration; otherwise, you’ll have to wait until the next day for it to absorb everything! Try mixing in some liquid seaweed and a tablespoon of Epsom salts at the same time. These will be absorbed by the coir peat and will act as a slow-release fertilizer. Epsom salts provide a water-soluble magnesium sulfate that aids in root formation.
- Planting your Hydrangea
Take the pot out of the soaking bucket. Tap the roots lightly on both sides to release them. Alternatively, if it appears to have been in the pot for a long period, run a knife around the edge. It may be pot-bound if there are roots sprouting out the bottom. Simply cut these off. Place your hydrangea in the center of the hole and backfill with compost.
- Feed your Soil for Beautiful Blooms
Fill the soil or potting mix with a slow-release organic fertilizer. This will gradually provide your hydrangea with a balanced diet of nutrients that it requires for optimum growth. If the fertilizer you choose does not contain rock minerals or soft rock phosphate, experiment with adding some. Natural (non-chemical) mineral fertilizers are a mixture of crushed volcanic rocks that provide life to soils and help to establish proper soil structure. Every garden should use rock minerals to maintain mineral balance and boost plant health. It’s similar to us taking mineral supplements because we always lack minerals in our diet.
- Add Mulch
Hydrangeas have a fibrous root system at the soil’s surface. As a result, it is critical to mulch thoroughly. It is preferred to use a ‘feeding’ mulch that decomposes and adds organic materials to the soil. Mulches such as sugarcane, hay, lucerne, pea straw, green mulch hay, and even grass clippings (without seed heads) will all enrich the soil.Mulch also keeps your hydrangea from evaporating too much water from the soil. You can easily add decorative mulch on top if you want.
Ending note
This is where we insert a tiny plug-in. Congratulations on finishing the book. We are Coco Coir Global, a Vietnamese producer and supplier of coconut coir and peat that delivers worldwide. Normally, I would offer our best-selling Coco Peat bag, which comes ready to use, but how about Coco Perlite Mix this time? Bags of Coco Peat that have been premixed with perlite, making them ideal for plants that demand a lot of aeration and saving you a step in soil preparation. Interested? For additional information, please visit our website.
Good luck with your development!