
 2999
2999 


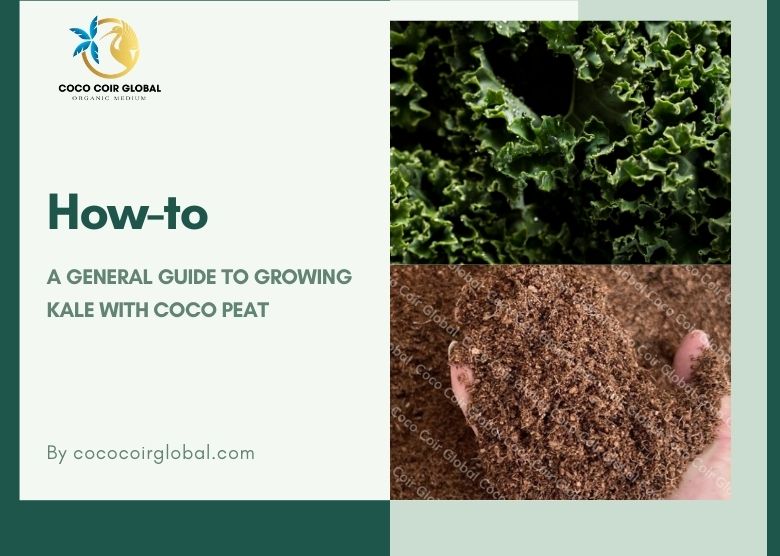
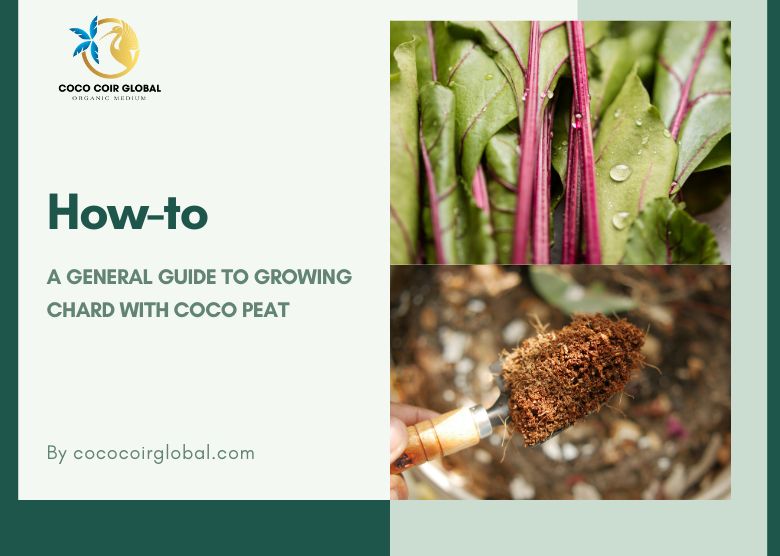
What is Coco Coir and Why is it Good for Growing Cannabis?
Coco coir is a substrate made from the empty husk of the coconut. They have been increasing in popularity since grower started acknowledging the value of it: a natural neutral pH level, comes with resistances to pests and diseases while contain next to no nutrient, providing good controllability of the soil- which is perfect choice to grow a nutrient-sensitive plant as Cannabis.
See more:
- 4 Best Coco Coir for Cannabis To Help Plants Stay Healthy
- 4 Best Coco Coir: Ideal Growing Medium for Your Plants
- The Benefits of Using Coco Chips for Planting
- Benefits of Coco Coir for cannabis plant
Coco coir is an essential grow medium and soil amendment that helps cannabis to grow to their fullest potential. Researchers say that coir-based substrates are effective for cannabis during the vegetative and flowering stages of production. To go more detail, the effects are:
- Coco peat is rich and harmless soil
- Coco peat soil can be reused many times. Done with one patch, clean up and use the same coir again.
- Coco peat is appropriate to use for the different crops and fulfills the requirements of high-tech agriculture.
- Coco peat is able to absorb and hold water perfectly, which helps to minimize the leaching of nutrients after each watering. It also has the ability to warm the roots in winter and adjust the temperature in other seasons, creating a suitable environment for beneficial microorganisms to grow, and thus increasing efficiency.
- Environmentally friendly, as the material is completely natural. It can completely replace peat moss.
- Promote healthy root growth, robust stems, and improved blooms.
- Provide more breathing space and aeration for plant roots, resulting in better growth.

Choosing the Best Coco Coir for Cannabis
Coco coir
Coco coir as a standalone substrate for cannabis works fine, you get all the upsides and trade off some potential productivity, but also save up a budget. The key is that, if you don’t have a need to maximize your yield, or you just got into growing with coco coir, maybe you should consider just coco coir for growing medium, and move to a better mix if there is a change of heart.
Coco coir mix Perlite
In this matter, there are coco coir products that come with perlite, but we are done talking about products already. Besides purchasing, maybe you are thinking of mixing it yourselves.
The ratio to mix coco coir and perlite should contain more coco coir than perlite, preferably 60/40 or 70/30.
This is perfect to transplant young cannabis plants started in soil. Seedlings in the mixture of soil, coco coir, and perlite will be able to grow their root systems freely.
Choosing the Right Nutrient Mix for Cannabis Growth in Coco Coir
One thing to highlight is non-buffered coco coir products with no nutritional value. Strange, but it will make sense when you take into consideration that you do not need to do guesswork feeding a rather sensitive nutrient plan.
Beside, coco coir is an excellent growing medium for cannabis as it provides good drainage and aeration, allowing roots to easily penetrate and access water and nutrients. When growing cannabis in coco coir, it’s important to provide the right nutrient mix to ensure healthy growth and optimal yields.
Here is a basic nutrient mix for cannabis growth in coco coir:
- Nitrogen (N) – 100-150 ppm
- Phosphorus (P) – 50-100 ppm
- Potassium (K) – 150-200 ppm
- Calcium (Ca) – 100-200 ppm
- Magnesium (Mg) – 50-100 ppm
- Sulfur (S) – 50-100 ppm
- Iron (Fe) – 2-5 ppm
- Trace elements (B, Cu, Mn, Mo, Zn) – 0.5-1 ppm
It’s important to note that these are rough guidelines, and it’s best to adjust based on the specific needs of your cannabis plants. Always follow the instructions on your nutrient mix and regularly test the pH and EC levels to ensure optimal growth.

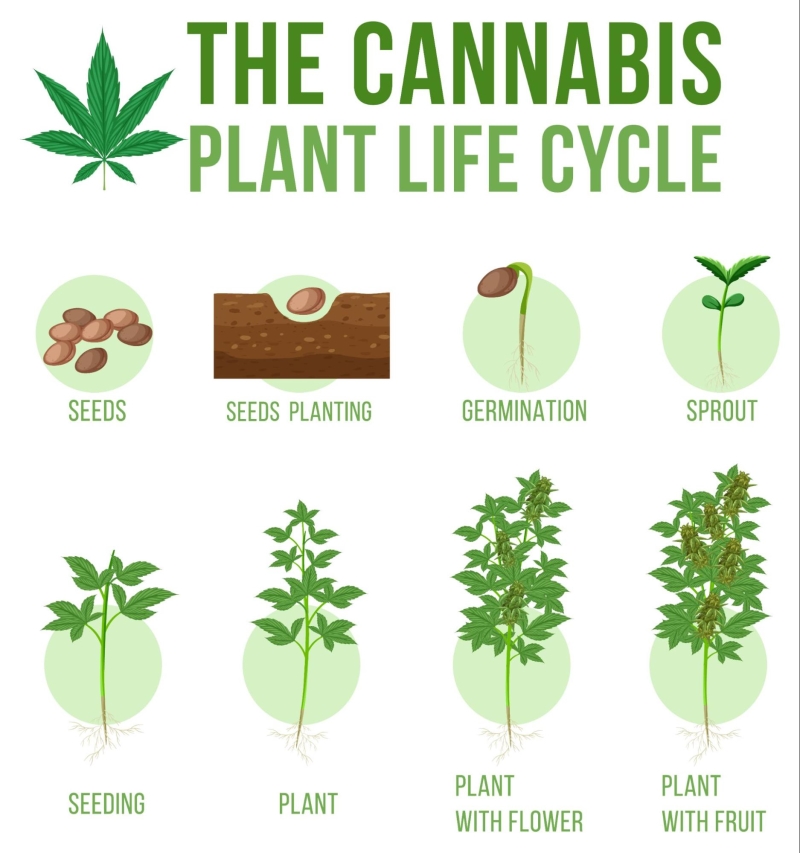
Caring for Cannabis in Coco Coir: A step-by-step Guide
Stage 1: Germination (1-7 days)
First make sure the seeds are mature enough. These are signaled by their shiny with light to dark brown color while being dry and hard to the torch. If they are soft while appearing white or green, they are immature and will likely not germinate.
Keep the seed in a wet and dark place, maybe in a cup of water or wrapped in a wet paper towel and set inside of a cabinet.
When exposed to the light and moisture, the growth process is boosted in speed. When they do, a single root shoots downwards as the new stem grows upwards, pushing the seed out of the solid. Two rounded cotyledon leaves will sprout from the stem as the protective outer shell of the seed breaks away- these leaves will gather energy from sunlight to provide what the plant needs to grow stronger and bigger. When the roots develop and the first true leaves grow, the plant will enter its next stage.

Stage 2: Seedling (14-21 days)
The seedlings are fragile- in order to grow rapidly, they must receive 18-24 hours of sunlight, moist soil, and mild humidity. They also has a delicate roots system, overwatering must be avoided
In this stage, they started developing more of the signature cannabis marijuana leaves- a leaf that is made of around 3~13 fingers, but the leaves growing from a sprout will appear with one rigged finger. The more they grow, the more fingers marijuana leaf has, up to 5-7 fingers per leaf but can get up to 13 of them.

The first fingered leaves can grow up to 4 inches above cotyledon leaves and will have serrated edges- this set of leaves grow in pairs on opposite sides of the stem.
Healthy seedlings should be short with thick vegetation and their leaves should appear vibrant green in color.
During this stage, growing environments must be kept clean and free of excess moisture to ensure the plant does not become diseased or moldy.
When the cannabis plants have developed leaves with a full number of fingers, they will then enter the next stage.
✓ Economical and versatile for different uses ✓ Suitable for both commercial and individual growers


Stage 3: Vegetative growth (14-56 days)
A seedling will enter vegetative growth when it has grown 7 sets of pointed leaves. They are transplanted into bigger pots.
At this stage, their stems grow thicker and taller, produce more leaves, nodes, and branches, and its root system becomes more established to prepare for flowering.
Growers begin topping and training the plants in this stage.
The spacing between nodes depends on what kind of cannabis you are growing. A node is where any two branches intersect off the main stalk. When a plant is young, nodes develop in pairs. When a plant has matured, nodes start to alternate- they still develop in pairs but there is more distance between them as branches are no longer parallel with each other.
During this stage, the water provided should increase to aid in their development. Also one thing to note is that as the plants are growing bigger, so do their roots, so it’s better to water farther away from the original position so that the tips of the roots can absorb it easier.

Beside water (warm water), cannabis plants also demand an increasing amount of moist air flow, nitrogen, potassium-rich nutrients, and soil space to open their way to grow 60-90cm.
One thing remains the same from the seedling stage is the soil, or the soil’s characteristic to be exact: they have to be well-drained, as it’s important to plant the plants dry out between each watering section to prevent drowning.
Lighting is also a factor. Indoor plants are advised to be given a ratio of 18-6 of light-dark cycle to keep their photosynthesis activity at peak, which contributes greatly to cannabis’s growth. A 24 hours of light isn’t bad, but plants also need rest, as turning the light off could also benefit growers with electricity saving.
Fun fact: Since light cycles control when a plant goes from the vegetative stage to flowering, they can be kept in vegetation forever. This is a tactic used to skip the germination stage and grow plants from cuttings.
Stage 4: Pre-flowering (7-14 days)
It can take anywhere from 7 to 14 days for a plant to enter the pre-flowering stage. In this stage, you can determine the plant’s sex by the pre-flower found at the nodes. As the stage progresses, or when the plant goes deeper into vegetation, the progress of determining sex becomes easier to figure out.
Male plants: They have small green sacs full of pollen on the node areas.
Female plant: Pistil contains the reproductive parts of a flower. Two of these will be growing on the buds (flowers grow above these leaves, one cluster on each side).
Once the sacs on a male or intersex plant burst, the pollen can fertilize the cola of nearby females ruining the psychoactive potential of their trichomes (small glandular hairs). So, remove all male and intersex plants as soon as possible before flowering.
Growers will refer to all mixed-sex plants as “hermies,” as they have both glands and leaves (the reproductive organs of the cannabis plant)- they should also be removed, as self pollination can also ruin the harvest.
The aforementioned “Cola” is the place where flowers grow together tightly on a female plant (also known as terminal bud). A healthy plant usually grows one main cola from the center of their structure and forms smaller ones on the outside of the plant. Trimming and training are used to increase the number of large colas being formed.
Non-pollinated female plants produce Sinsemilla, they have no seeds and produce more cannabinoids. Sensimilla has an exceptionally high concentration of psychoactive agents and is responsible for effects like talkativeness, increased sociability, euphoria, the munchies, and hallucinations. These plants produce large volumes of resin and fake seed bods both containing high levels of THC.
Sinsemilla is identified by the white hairs that sprout from the bracts at the plant’s nodes.
When the light hours per day that cannabis receives decreases to about 12 hours per day, its growth will halt as it enters the flowering phase.

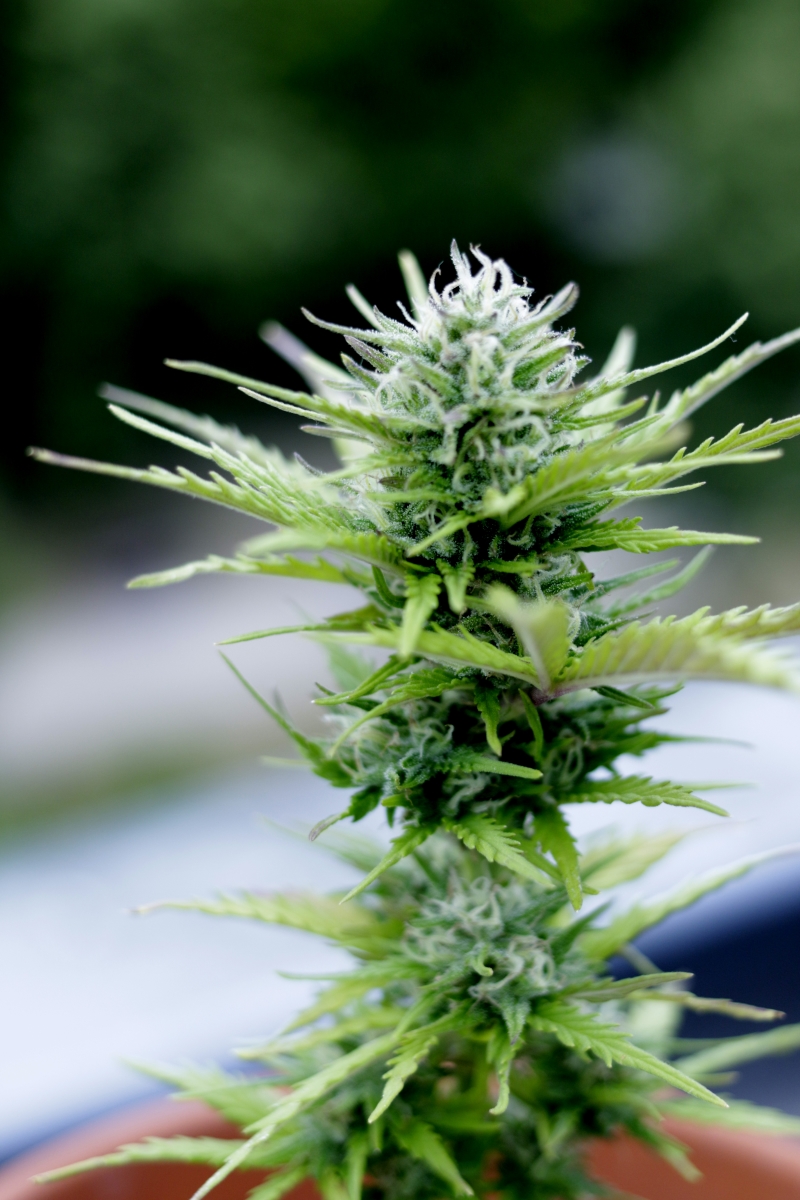
Stage 5: Flowering Stage (42-65 days)
As mentioned, cannabis enters their flowering stage naturally after receiving less than 12 hours of light a day. They enter this stage completely after periods of 10-12 hours of complete darkness.
In this stage, the flowering stage, the cannabis plant enjoys warm weather with humidity at medium, and some blooming nutrients.
Harvestable signs:
- Colors of the pistils on cola buds turn to reddish orange from white
- Trichome heads turn from transparent to milky to opaque and to amber

The amber color indicates a higher CBD to THC cannabinoid ratio in its resin. Trichomes turn from cloudy white to brown once THC begins to weaken. While having some brown trichomes is okay, it’s a sign that the plant is ready to be harvested.
Trichomes produce THC, terpenes, flavonoids, and other cannabinoids. As flower clusters develop more cannabinoid compounds develop and the clusters become sticky from resin.
If you let the plant grow too long, the trichomes will fall off, with most of the cannabinoids gone- no THC or CBD effect. How to fix it? Well, starting over with another patch is advised.
It’s recommended to harvest once half the trichomes are opaque. It’s believed that this method produces the highest amount of THC and the lowest levels of CBD.
Another way to determine if your plants are ready for harvest is by checking the color of the hairs that grow inside of the pistils or calyxes.
If there is a high color ratio of white to red pistils your cannabis will provide a euphoric THC high.
If the color ratio is more red to white, your cannabis will provide a calmer, CBD-stoned feeling.
If you harvest once half the trichomes are opaque and the pistils haven’t turned brown, your cannabis will provide a balanced THC/CBD high.
Harvesting Cannabis Grown in Coco Coir: Tips and Tricks
Harvested cannabis should be cut down to smaller branches as it’s easier to dry the product. They should be strung and hung upside down in a cool, dark room.
For 7-14 days, commercial cannabis is typically dried in between 40% to 50% humidity level.
This process is necessary to prevent fungus and bacteria from growing. Drying down also takes away the moisture, effectively preserving the life of the cannabis, but completing it too fast will result in harsh cannabis.
The curing process is optional and involves aging cannabis in sealed, airtight containers (generally mason jars) and placing them in a cabinet where temperature levels remain between 50 and 60 °F.
An action to avoid a decrease in airflow is that these jars shouldn’t be packed tightly. Once a day, they should be opened briefly to release any gasses buildup while absorbing fresh air, for 1-3 weeks while being stored. It is believed that by curing the cannabis, it improves its flavor and burn quality while reducing the harshness.
Common Challenges and Solutions for Growing Cannabis in Coco Coir
Watering practice: Getting into growing with coco coir can be challenging from just knowing when and how to water your plants. Coco is a sponge, and like a sponge, when squeezed water comes out, but not all the water. The sponge will remain damp and coco can still appear wet without having enough available water to give to the plant. Constantly watering coco results in over-watering and root rot. This could be prevented by calculating and experimenting with the amount given to the plant.
Nutrient provision: normal coco coir product itself does not contain any nutrition, so what given to the plant is what they get. So if your cannabis is growing slowly, that might be the sign to increase the dosage provided.

High content of salt, especially in lower grade products. This one is almost self explanatory- ensure you are using a trusted brand, and if it’s your first time using a brand’s product, measure the product’s index carefully, rinse and wash it carefully if the numbers are not ideal.
Final Thoughts on Growing Cannabis in Coco Coir
Although it will take some time to get used to the substrate, coco coir is undoubtedly one of the better choices for growing cannabis. The process is not an easy one either, so trial and error should be expected, but the reward will be what keeps you going back at it again.