
 2451
2451 


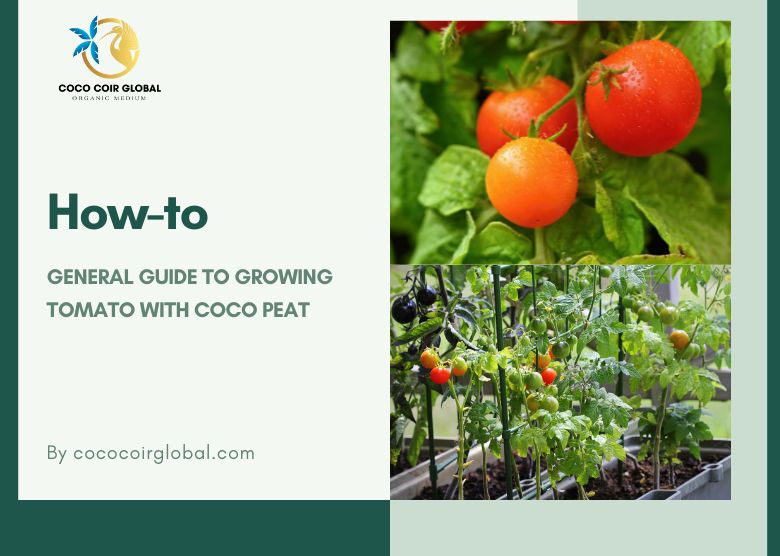
The Growing Process of Tomatoes and More
About the Tomato Plant:
Tomato plants are delicate, warm-season crops that thrive in the sun and cannot withstand freezing. It is critical not to plant plants too soon. Except in zone 10, where tomatoes are a fall and winter crop, the soil is not warm enough to plant tomatoes outside until late spring or early summer.
Tomatoes can be harvested in 60 to more than 100 days, depending on the variety. Because of their unusually extensive growing season requirements (and later planting date), most gardeners plant small “starter plants” or transplants once the weather has warmed up in April instead of seeds. Many gardeners buy transplants from a garden center or nursery, but you may grow your own from seed indoors.
See more:
Coco peat for Spinach: Growing Spinach With Coco Peat

Coco Peat Usage:
You can add 20-25% coco peat (coconut coir) to your potting mix while growing tomatoes. It can even be increased by up to 50%. It is also a great growing medium in hydroponics, where 100% coco peat can be used. It can also be useful for cultivating succulents.
Coco peat’s structure provides “chambers”- like pockets in the soil. These chambers can hold water when received, then release it gradually over time, effectively increasing the water retention for a moisture-intensive plant like tomato. These chambers also create essentially an airflow, preventing root rots.
Planting Planning and Preparation:
Choose a location with full sun. 8 to 10 hours of direct sunlight is ideal in northern locations. Light afternoon shade (natural or imposed, e.g., row coverings) will assist tomatoes in surviving and thriving in southern locations. Dig the soil to a depth of about 1 foot and mix in aged manure and/or compost. Allow it two weeks to decompose before planting.
In addition, select a location where tomatoes (and members of their family, particularly eggplants, peppers, and potatoes) have not grown in the previous two years.
Tomatoes are heat-loving, long-season plants that will not withstand frost, so wait until the weather has warmed up in the spring before planting.
Sow tomatoes from seed indoors 6 weeks before the last estimated spring frost date in your location if starting from seed. Sow seeds in tiny trays 1 centimeter deep. Using coco peat for starting seeds at this step is an ideal choice for optimal plant growth. Plant seedlings outside approximately 2 weeks later, or when temperatures remain in the mid-10 Celcius both day and night.
If you have a long enough growing season, you can direct-seed tomatoes in the garden soil (1 centimeter deep)- but not before the soil temperature reaches 13°C. It is important to note that 21°C soil is ideal for maximum germination in 5 days.

Growing Tomatoes in Containers
Use a large pot or container with drainage holes in the bottom (at least 50 centimeters in diameter).
Use loose, well-draining soil (e.g., at least 30 cm of good “potting mix” with organic material), or use coco peat as it is.
Under the pot, a tray of some kind should be placed to capture any excess water that runs out the bottom.
Select determinate varieties, such as shrub or dwarf kinds. Many cherry tomatoes thrive in containers. Taller varieties may require stakes.
Plant one tomato plant per pot and give it at least six hours of direct sunlight per day.
Maintain soil moisture. Containers dry out faster than garden soil, so check on a daily basis and add extra water during heat waves.

Watering the Tomatoes
Water early in the morning to ensure that plants have enough moisture to last through a scorching day. Using coco peat as soil or in the soil mixture will help increase water retention.
Water thoroughly during the first few days after planting tomato seedlings or transplants.
During the growing season, water with around 5 centimeters (about 4.5 liters) per square foot every week. Deep watering promotes a healthy root system.
Avoid watering in the afternoon and overhead. Water plants at the soil level to avoid spraying water on the leaves (which encourages illness).
Mulch 5 weeks after transplantation to keep soil from splashing on the lower leaves and to manage weeds. 2 to 4 inches of organic mulch, such as straw, hay, or bark chips, should be applied.
Find several flat rocks and lay one next to each tomato plant to assist them survive periods of drought. The rocks keep the soil’s water from evaporating.
Fertilizing the Tomatoes
Before planting, you should have stirred some compost into the soil and added some bonemeal to the planting hole.
Side-dress plants every 2 weeks with liquid seaweed, fish emulsion, or organic fertilizer, beginning when tomatoes are about 1.5 centimeters in diameter (others say golf ball-size). Pull aside a few inches of mulch and scratch 2 to 3 tablespoons of fertilizer around the drip line of the plant if you’re using an organic granular formula like Espoma Tomato-Tone (4-7-10 or 3-4-6). Replace the mulch and water it in.
Continue fertilizing tomatoes every three to four weeks until frost.
Avoid using fast-release fertilizers and high-nitrogen fertilizers. As previously indicated, excessive nitrogen results in luxuriant foliage but few blooms and little or no fruit.
Harvesting the Tomatoes
Garden tomatoes should be left on the vine for as long as feasible.
Harvest tomatoes when they are firm and bright red, regardless of size, with some yellow around the stem remaining. When tomatoes of different colors (orange, yellow, purple, or another rainbow shade) turn the correct color, harvest them.
If temperatures begin to fall and your tomatoes do not mature, try one of the following methods:
- Pull out the entire plant, brush off the dirt, and remove the foliage before hanging it upside down in a basement or garage.
- Put mature, pale green tomatoes, stems up, in a paper bag and seal it loosely. Alternatively, wrap them in newspaper and store them in a cardboard box. Store at a cold (13°C to 21°C) and dark location. Cooler temperatures slow ripening, while warmer temperatures hasten it. Remove soft, spotted, infected, or ripe fruit on a weekly basis.
- Never ripen tomatoes on a sunny windowsill. They might rot before they’re ready.
Storing the Tomatoes
Fresh garden tomatoes should never be refrigerated. This ruins the flavor and texture that give them their garden tomato flavor.
To freeze fresh, undamaged tomatoes, core them and place them whole in freezer bags or containers. Seal, label, and place in the freezer. When they defrost, the skins will come off.
Endnote:
Welcome to the footnote, hey, congratulations on making it here.
Here at Coco Coir Global, we have coco peat products that ship all over the world, one of which is our most popular, the best-selling Coco Coir Bag, which comes in ready-to-use form and is easy to transfer in large quantities- or if that isn’t what you’re looking for, take a look around our website, maybe we can help.
Good luck growing!