
 2117
2117 


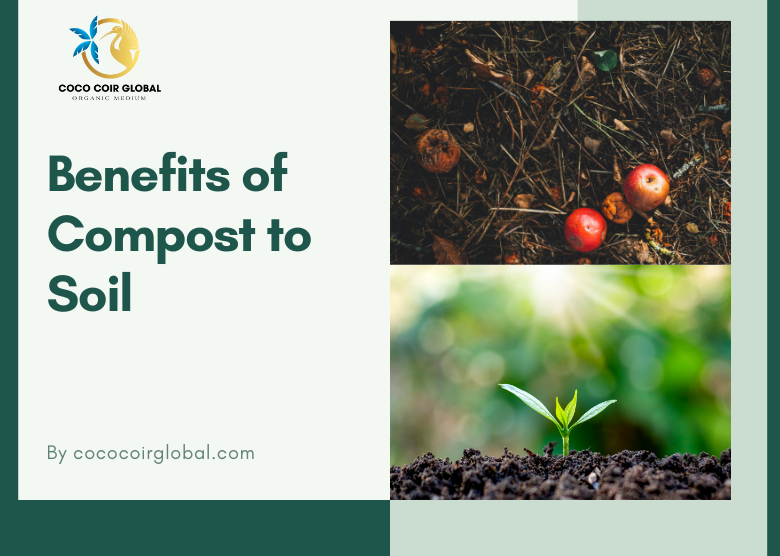
What is Composting and Its Impact on Soil Health
Understanding the Process of Composting
Composting is the natural process of breaking down organic matter, such as food scraps, yard trimmings, and paper products, into a dark, crumbly material called compost. Compost is rich in nutrients and can be used as a soil amendment or fertilizer for plants.
The Significance of Compost in Enriching Garden Soil
Compost is a great tool for gardeners because it improves soil structure, balances pH levels, retains moisture, and prevents soil erosion while also enriching the soil with nutrients. You can create a healthy and fruitful environment for your plants to flourish in your garden by introducing compost into it.
See more:
- What Is Compost? A Complete Guide to Composting and Its Benefits
- Sphagnum Moss: A Versatile Solution for Plant Care and Decor
- Peat Moss vs Coco Coir: Which Growing Medium Worths Opting To?
- How to Buffer Coco Coir? Guide to Buffering Condensed Coco Coir

Advantages and Disadvantages of Using Compost for Soil
Advantages of Incorporating Compost to Soil
For a long time, compost has been regarded as a helpful soil additive. The majority of people are aware that composts can improve plant health, save money, reduce the need for artificial fertilizers, and aid in resource conservation. Compost provides a stable organic material that improves the physical, chemical, and biological properties of soil, hence raising crop yields and soil quality.
Potential Drawbacks of Using Compost for Soil
Composting by-products have a number of disadvantages, including high costs for site preparation and equipment, a lengthy treatment period, a focus on the compost’s end use, and environmental problems including dust and aromas. It may be necessary or advised to make some equipment and site preparation investments. It can take many weeks to generate stable compost by composting, depending on the procedure. Composting is not a quick stabilization process. To justify the additional work required to produce compost, a suitable market for the material must be identified.
How to Effectively Add Compost to Your Garden Soil
Step-by-Step Guide: Mixing Compost into Soil
Step 1: Get the right compost thing:
Not everything goes in a compost pile although anything that was once living will compost. In general, avoid composting diseased plants, invasive weeds, mature weeds, dog and cat waste, and foods containing animal fats (such as meat, bones, cheese, grease, and oils). Composting is a great use for yard trimmings like leaves, grass clippings, prunings, garden waste, and the majority of kitchen leftovers.
Step 2: Get a place to compost:
Select a location for the compost pile in your garden or yard. It doesn’t really matter if it’s in the sun or the shade, but ideally, it should get a little of both throughout the day. It is more crucial that it is located in a handy area for use. Decide how you want to compost after that. It actually depends on your preferences whatever method you use to prepare a compost pile because there are so many. It may be as follows:
- Use absolutely no enclosure. Simply arrange the elements in a mound, keeping them reasonably dense.
- Build a compost container on your own. Bins that are enclosed usually look tidy, aid in pest control, and retain heat and moisture. You can create a simple round enclosure out of wooden stakes, chicken wire, or hardware cloth; build a wooden bin out of reclaimed wood or old pallets; create a three-sided enclosure out of cinder blocks stacked on top of one another with the front left open; or even drill holes in the bottom and sides of a garbage can.
- Get a compost container. Visit a garden center, mail-order garden catalog, or hardware or home improvement store to place an order for a pre-built compost bin. Additionally, find out if your community’s Public Works Department or recycling coordinator sponsors a bin distribution program.
Step 3: Get the rightly chosen material processed and delivered to the selected compost site:
Prepare the resources: Cut or shred the materials into small pieces to start. This will hasten their breakdown. Even though it is not required, shredding leaves will hasten the composting process. Garden garbage and leftover food leftovers also fit this description.
Create the pile: Adding a base layer of coarse material, such as wood chips or small twigs, to promote drainage and aeration. Then, to help balance the ratio of carbon and nitrogen, add materials in layers 2 to 6 inches thick that alternate between “greens” (food scraps, grass clippings, manure) and “browns” (leaves, straw, woody debris). After every two layers, thoroughly combine water. Build the entire pile out of “browns” and then add the “greens” as they become available if you don’t have both “greens” and “browns” on hand at once. Bury food scraps completely in the center of the mound when adding them. Periodically add a shovel’s worth of garden soil.
Maintain moisture: The pile should be kept damp but not soggy, with the consistency of a sponge that has been wrung out. It won’t decay if it isn’t damp.
Give it some air: Organisms need oxygen to break down materials. When you add more material, use a pitchfork or hoe to fluff the pile. You can typically acquire finished compost in one year if you can manage to turn the pile more aggressively in the spring and fall (turning it totally inside out and upside down). Slower composting is the result of less rotation.
Observe your pile: Heat is produced during the composting process. If you notice steam coming from the pile, especially when it is turned, don’t be shocked. This indicates that the circumstances for decomposition are ideal. Your compost pile won’t draw pests or emit aromas if it is properly prepared, has no animal fats, and is regularly turned.
Step 4: Get to know whether your pile is ready or not:
Depending on the materials employed, the size of the pile, and the frequency of turning, decomposition can take anywhere between a few months and over a year to be finished. When it has cooled, developed a deep brown color, and broken down into tiny soil-like particles, compost is considered to be finished.
Step 5: Get to use your compost:
Apply 1-3 inches of the finished compost and work it into the top four inches of soil about a month before planting. Throughout the summer, compost can be used in the garden as a top dressing or mulch. Compost can be used to make potting soil by mixing equal amounts loam, sand, and compost after being screened through a 1/2 sieve. Large pieces may be reinserted into the compost pile. Compost can be applied to lawns in a 1/4-inch layer, which will boost the turf’s biological activity.
Ask if your friends or neighbors need any compost if you have spares, chances are they might appreciate a scoop or two.

Best Practices for Adding Compost to Garden Beds
Timing: When the soil is not frozen and you are not actively producing plants, it is better to add compost to your garden beds in the spring or fall. This gives the compost enough time to decompose and mix with the soil before planting season.
Preparation: Remove weeds, rocks, and other objects from the garden beds before applying compost. To make the soil more pliable and aerated so that the compost may combine with it, loosen the soil with a garden fork or tiller.
Application rate: Your garden beds should have a layer of compost applied to them that is 2 to 4 inches thick. This will give the soil the necessary nutrients and organic matter to become more fertile without harming the plants.
Mixing: The top 6 to 8 inches of soil should be tilled or mixed with a garden fork to incorporate the compost. By doing this, you can be sure that the compost is mixed into the soil and dispersed evenly. The root zone of existing plants may be disturbed if you mix too thoroughly.
Planting depth: If you’re adding compost to an existing garden bed and you have established plants, avoid burying their base in a large quantity of compost. Keep the soil level around the plants consistent and avoid creating mounds that can cause water logging or plant stress.
Watering: Water the garden beds well after adding compost. This will aid in soil stabilization and start the compost’s decomposition process. To aid in the decomposition of the compost and the plants’ ability to absorb nutrients, keep the soil continuously moist but not soggy.
Mulching: Consider adding a layer of organic mulch, such as wood chips or straw, on top of the compost. This will help conserve moisture, suppress weeds, and further enrich the soil as the mulch breaks down.
Regular maintenance: Monitor the moisture level of your garden beds and adjust watering as needed. Additionally, continue to add compost annually or as recommended to maintain soil fertility and health over time.
Tips for Incorporating Compost into Existing Soil
- For mulching:
The ideal way to utilize compost as mulch is to place a layer on top of the soil surrounding the plants that is 2 to 4 inches deep. This mulch layer should stretch at least 12-inches from the base of each plant. You can apply it to the entire bed or to individual plants.
- For planting seedling:
Dig the hole deeper than is necessary in order to plant seedlings. To ensure that only mature compost is inserted into the hole, sift the compost.
When adding compost to the garden for new plants, caution should be taken. Take precautions to keep the vulnerable roots from coming into contact with the compost while planting fresh seedlings with delicate roots. Compost’s concentrated nutrients have the potential to destroy seedlings by burning the roots of young plants.
- For Soil Amendment:
For plants to develop, clay soil presents a number of challenges. It retains water, resulting in wet roots that encourage root rot. Clay has little aeration and compacts, making it difficult for roots to grow. These circumstances can be made better and the growth of the plants made easier by adding compost to clay soil. Late winter or early spring are the ideal times to incorporate compost into clay soil. This allows the modified ground to settle.
Sandy soil does not store moisture well and does not give plants a safe environment in which to root. Additionally, the sandy soil’s high drainage allows nutrients to be washed away, reducing the nutrients that are accessible to the plants. Compost can be added to the soil to assist the soil retain more water and to provide plants with a nutrient-rich rooting media. Large amounts of organic matter are necessary for sandy soil. This is given by compost, which also raises the quality and moisture-holding capacity of the soil.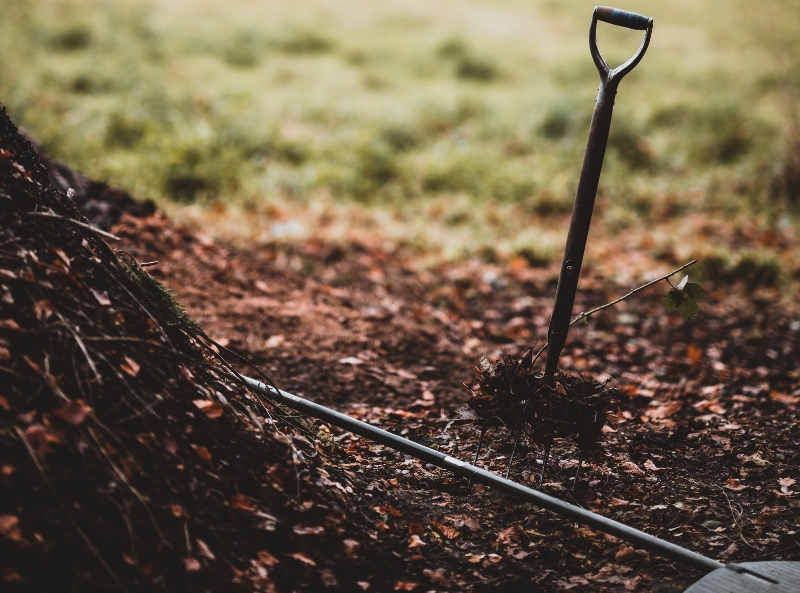
Longevity of Compost in Various Applications
Shelf-Life of Compost: Factors and Considerations
Compost in bags can be kept for up to six months.
The amount and microbial activity will significantly decrease after a year.
Compost may typically be kept for a year if it is kept cool and the moisture content is watched. The compost is not suited for long-term use because it can lose value over time.
Utilizing Last Year’s Compost: Pros and Cons
Old compost is still usable, but it won’t be as valuable as compost that was done curing three to six months ago.
But keep in mind that it loses effectiveness the longer you wait.
To “reactivate” the bacteria in old compost, it can be combined with new organic materials.
Old compost can also be used as a top treatment for your plants. Expired compost can offer some nutrients and aid in soil moisture retention when used as mulch.
Duration of Compost Effectiveness in Bags and Pots
It is possible to store compost in bags for up to six months.
After a year, both the quantity and the microbial activity will sharply decline.
If compost is kept cool and the moisture content is monitored, it can normally be stored for a year. To determine whether the compost is becoming too dry—which is something you don’t want—use a compost moisture meter. The compost might lose value over time, making it unsuitable for long-term use.